
Jimmy Boinembalome
Configure Husky with Angular
Quick steps to install Husky in an Angular project.

Husky is a powerful tool that allows you to add Git hooks to your project. These hooks can be used to run scripts or commands before or after certain Git actions, such as committing changes or pushing commits to a remote repository. Commitlint and lint-staged are two popular tools that can be used in conjunction with Husky to enforce code quality and formatting standards in your Angular project.
In this article, we will install Husky, Commitlint and Lint-staged in an Angular v15 project.
Prerequisites
Before to start you will need:
- Node.js: Angular requires an active LTS (Long Term Support) or maintenance LTS version of Node.js.
- Angular CLI: We will use the Angular CLI to create an Angular project.
- Visual Studio Code: The editor to add a new component inside the project. (You can choose your favourite editor or IDE as well 🙂)
Create an Angular project
Let's create a new project with the Angular CLI by running the following command in a terminal:
ng new angular-huskyAfter running the command, Angular CLI will ask you few questions to configure your new Angular project:

Then go inside the project with the command:
cd .\angular-husky\And open the project with Visual Studio Code:
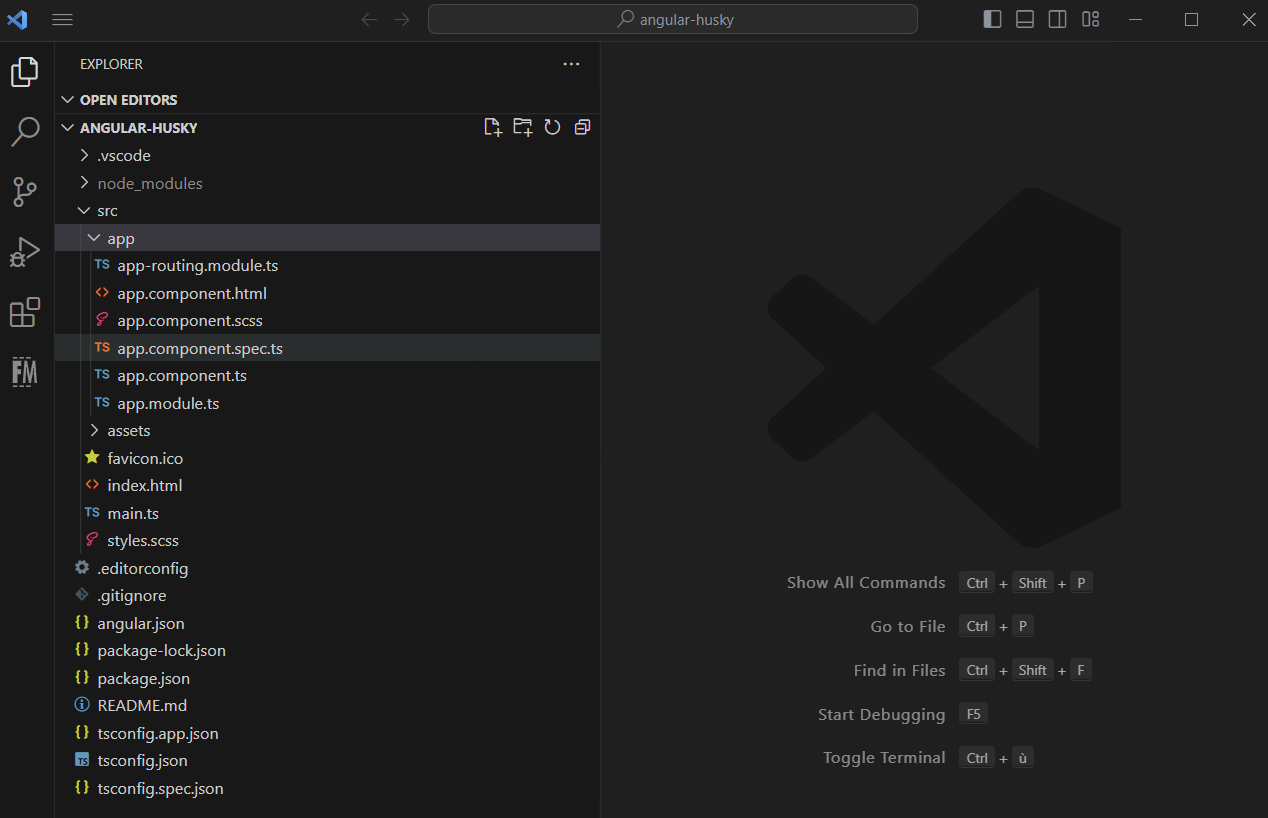
code .If all has gone well so far, you should have the following architecture:
Install Husky
Now, we will install Husky in our project.
To do this, run the following command:
npm install husky --save-devNote: The
--save-devoption will install Husky as devDependency as the application does not need Husky to run.
Then let's activate the hooks with the following command:
npx husky installTo automatically have Git hooks enabled after install, run the following command:
npm pkg set scripts.prepare="husky install"This command will add a new script inside the package.json file:
"scripts": {
    "prepare": "husky install"
  }
Install commitlint
Next, we will install commitlint, which is a tool that enforces commit message conventions. To install commitlint, run the following command:
npm install @commitlint/cli @commitlint/config-conventional --save-devConfigure commitlint
After installing commitlint, we will need to configure it to enforce commit message conventions in our project. Therefore, let's create a commitlint.config.js file at the root of the project:
module.exports = {
  extends: ['@commitlint/config-conventional'],
};
Now let's add our Git hook with Husky:
npx husky add .husky/commit-msg 'npx --no -- commitlint --edit ${1}'This command will create a new commit-msg hook in our project's .husky directory, which runs commitlint to validate the commit message according to the configured rules.
Let's test to make sure it works:
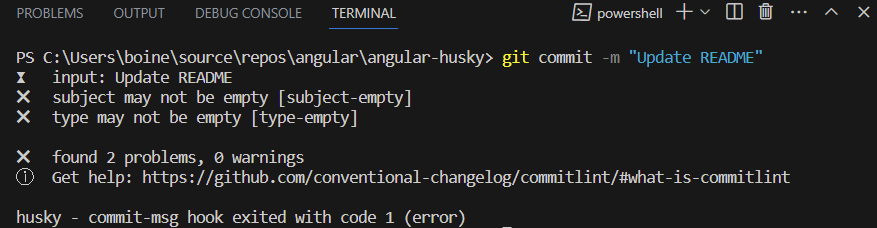
As we can see, it is not possible to commit if the message does not respect the convention.
Install lint-staged
Now that we have installed and configured Husky and commitlint, we will install lint-staged, which is a tool that allows us to run tools like ESLint and Prettier on staged files.
To install lint-staged, run the following command:
npm install lint-staged --save-devNote: If you don't know how to install ESLint and Prettier in an Angular project, you can take a look to these articles
Configure lint-staged
After installing lint-staged, we will configure it to run the linters on staged files. Therefore, create a new file named .lintstagedrc.js in the root of the project and add the following code:
{
   "*.{ts, html}": [
      "eslint --fix"
    ],
   "*.{json,css,scss,less,md,ts,html}": [
      "prettier --write"
   ]
}
Finally, we can configure Husky to run lint-staged:
npx husky add .husky/pre-commit 'npx lint-staged'Now, if we commit one or more files, Husky will first run the pre-commit hook, which will execute lint-staged to format files and check for linting errors. If there are any issues found, the commit will be aborted.
Assuming lint-staged passes, Husky will then run the commit-msg hook. The commit message will then be validated by commitlint. If the commit message fails validation, the commit will be aborted.
If both hooks pass, the commit will be created and the changes will be added to the Git repository. 🙂
Conclusion
In this article, we have learned how to set up Husky with commitlint and lint-staged for an Angular project. By using Husky, we can run the pre-commit and commit-msg hooks to enforce our code quality and commit message conventions in our project.
In addition, Husky can be used for a variety of use cases beyond those mentioned here. For example, it is also possible to use Husky to run tests before committing your changes or to run a script in a pre-push hook.
I hope you found this article useful! 👍
Source code of the article: Github source code
Thanks for reading! 🙂
